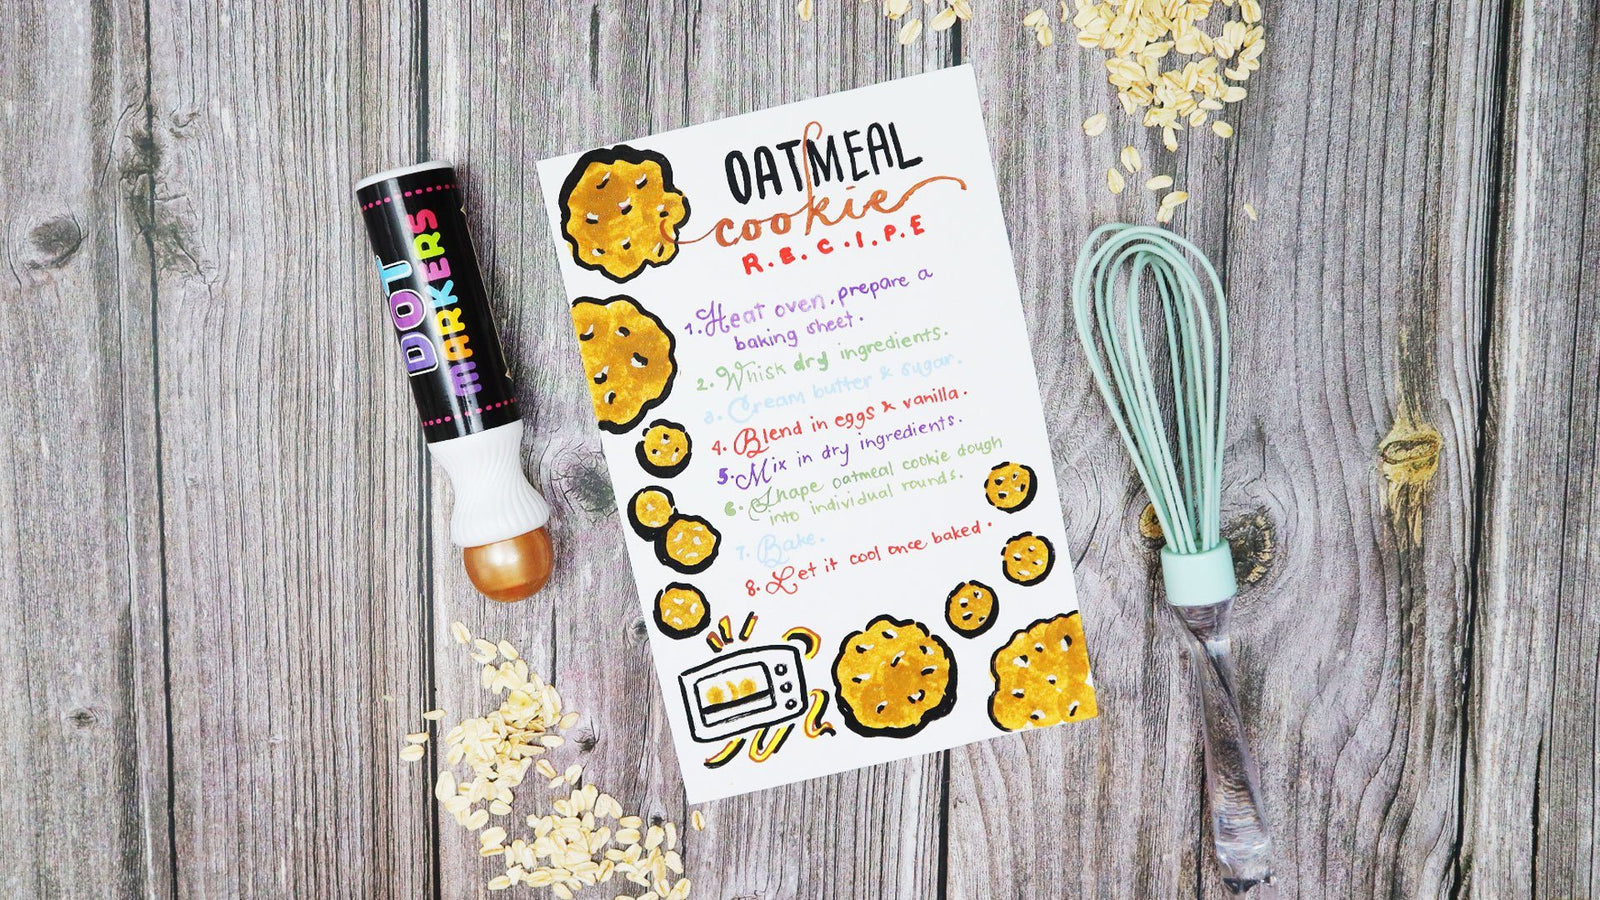
Planning to bake a fresh batch of healthy and delicious oatmeal cookies? Got a secret family recipe that you would like to create a lovely recipe art on? Or are you starting a cookie business or a baking blog that you want to share a customized recipe design for? Look no further. Here’s an awesome art tutorial to help you do just that in simple and easy-to-follow steps.
For today’s project, we are going to use washable dot markers for kids and liquid chalk markers to create our recipe artwork. Dot markers are great because you can create perfect dots with them, which makes it easy to just dot and dab the cookies on paper with. Chalk markers, being the all-purpose pens that they are, are awesome for many reasons – they are vibrant, versatile, non-toxic, and completely erasable if you use them on non-porous surfaces like glass/windows, plastic, metal, non-porous chalkboard, and other smooth surfaces.
With that said, ready to create and bake? Let’s whip up some art!
Materials needed:
Here's a short helpful video that you can follow:
Steps:
- Prepare your materials. Using the brown dot marker, dab on dots on the parts where you want your cookies on. You can make big cookies by dabbing on clusters of dots, and small cookies with just single dots.

- Next, take out your chalk markers and start writing down the recipe. You can use different colors for each line if you want your design to be extra colorful.

- Done? Just add finishing touches to your recipe artwork using chalk pens, like toppings on your cookies. Go for white chocolate or milk chocolate chips, nuts, or even rainbow sprinkles! You can also draw a small oven at the bottom for heating instructions.


