Chalkola’s Featured Artist | Alysa Wang
Meet Alysa Wang, a California-based artist who enjoys bullet journaling, brush lettering, and painting to express her creativity. Alysa was passionate about drawing growing up, which led her to start getting into bullet journaling in the summer of 2018. For Alysa, bullet journaling is a fantastic way of being creative and staying organized simultaneously.
Alysa draws her inspiration from everything that surrounds her – colors she associates with certain months, things going on in her life, and other fun finds on social media. Her advice to those just starting out in their art journey, “Always create with what works for you in mind. Don’t feel like you have to use a certain technique or a certain item just because it’s trendy or because everyone on Instagram is doing it.”
Read more to learn about Alysa, and check out the bullet journaling tutorial she shared with us.

Hi, Alysa! Tell us a bit about yourself.
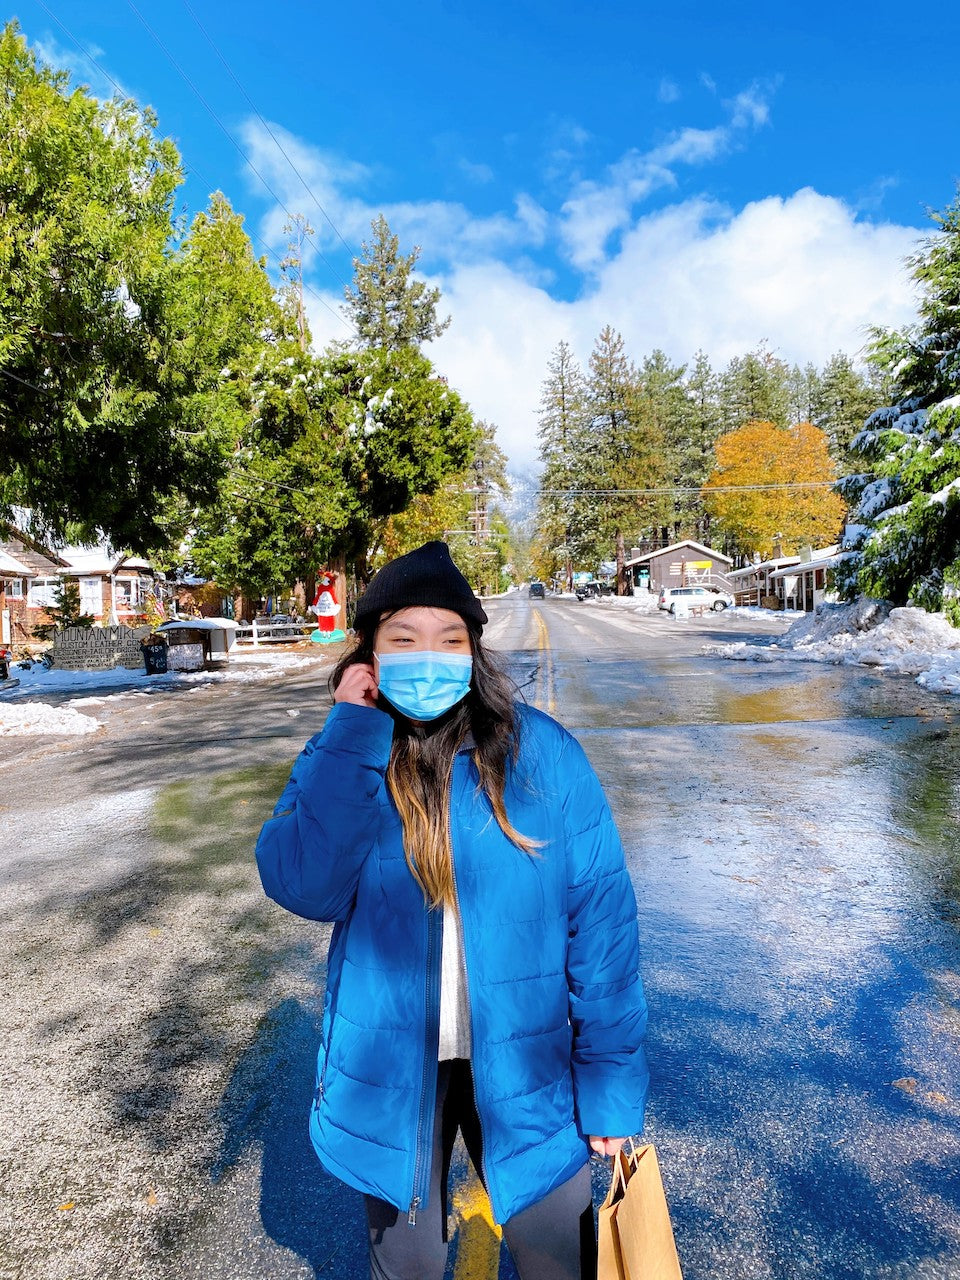
Hello! My name is Alysa. I’m 22 years old, live in Southern California, and am currently studying to be a high school teacher.
How long have you been an artist? Do you have a story behind it?
I’ve always been that kid who would bring a clipboard out to recess and just draw. But I was never good at it and it felt like all my efforts just led me nowhere, and I’d buy craft supplies only to feel frustrated that my projects didn’t work out. But my artistic sensibilities didn’t really start to shine until I discovered bullet journaling, and got really into it. I’ve been doing that since around summer of 2018. As someone with ADHD, it’s really difficult for me to stay on top of things, and all the artistic energy I put into it forces me to keep coming back to my to-do lists.
What’s your favorite art technique and medium?
I love bullet journaling and brush lettering, but I’ve been finding painting a lot of fun lately too!
What inspires you as an artist?
I get so much inspiration from the world around me. So many of my themes reflect things that are going on in my life, or colors that I associate with certain months, and I’ll often do letter quotes that reflect what I’m going through. I also am constantly plugged into Instagram, and I’m often putting my own spin on what I see there.
What advice can you give on how to find inspiration for art and creating?
Always create with what works for you in mind. Don’t feel like you have to use a certain technique or a certain item just because it’s trendy or because everyone on Instagram is doing it. That being said, looking at artwork from other people is essential to developing your own style and improving your own work.
What’s your preferred Chalkola product to work with and why?
For my bullet journal, acrylic paint markers and dot markers – they’re really functional. But working with acrylic and watercolor paint is always so much fun too!
We’re thrilled that Alysa shared a helpful tutorial on how to embellish a bullet journal using an assortment of Chalkola art supplies. Enjoy her post below!
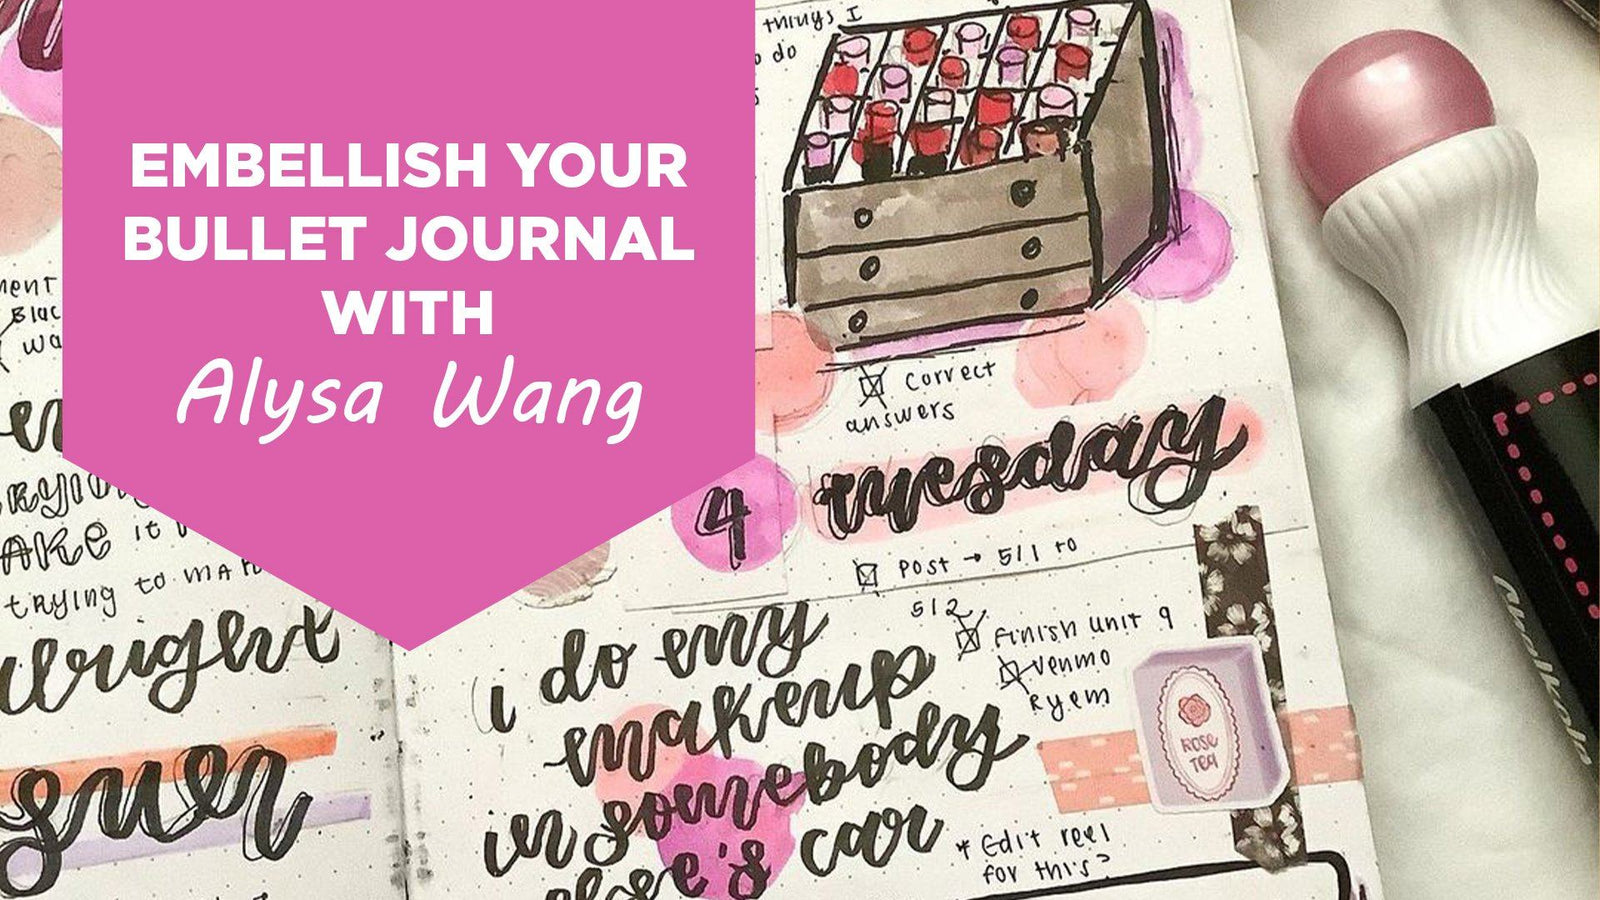
Hey everyone! In this post, I’m going to take you through how I set up a couple of days in my bullet journal. In case you guys don’t know what it is, it’s essentially a system of creating a DIY planner. It’s a fantastic way of being creative and staying organized simultaneously. You also don’t need a whole lot of setting up to channel your creative energy, and Chalkola products offer fun and easy ways to jazz up your daily planning!
The only things you really need to start journaling are a notebook and a pen. You can use any notebook you want, though do keep in mind that dot and watercolor markers have the tendency to bleed through the page. A notebook with thick enough paper will offset most of this. I also strongly recommend doing this in a dot grid journal, because it regulates your spacing while also allowing your own designs to take center stage. I did this spread in a journal from Maisie Lane Co., and some other popular brands for such journals include Archer and Olive, Notebook Therapy, and Scribbles that Matter.
Materials needed:
- Washable Dot Markers
- Acrylic Paint Markers
- Watercolor Brush Pens
- 160 gsm dot grid notebook
- Pencil and eraser
- Brush pen of your choice
- Stickers, washi tape, or whatever other embellishments of your own!

Steps:
1. I like to start out by going over everything in pencil. This step isn’t mandatory, but I find that it really helps me in figuring out spacing and positioning.
2. Dot Markers: I stamped them over the areas I outlined for the quotes to add some color. I also used these to highlight the day headers - there, I just dragged the marker across the page to create a circular highlight. I like to do this before inking over the quotes so that the black ink doesn’t interfere with the colors I’m using.
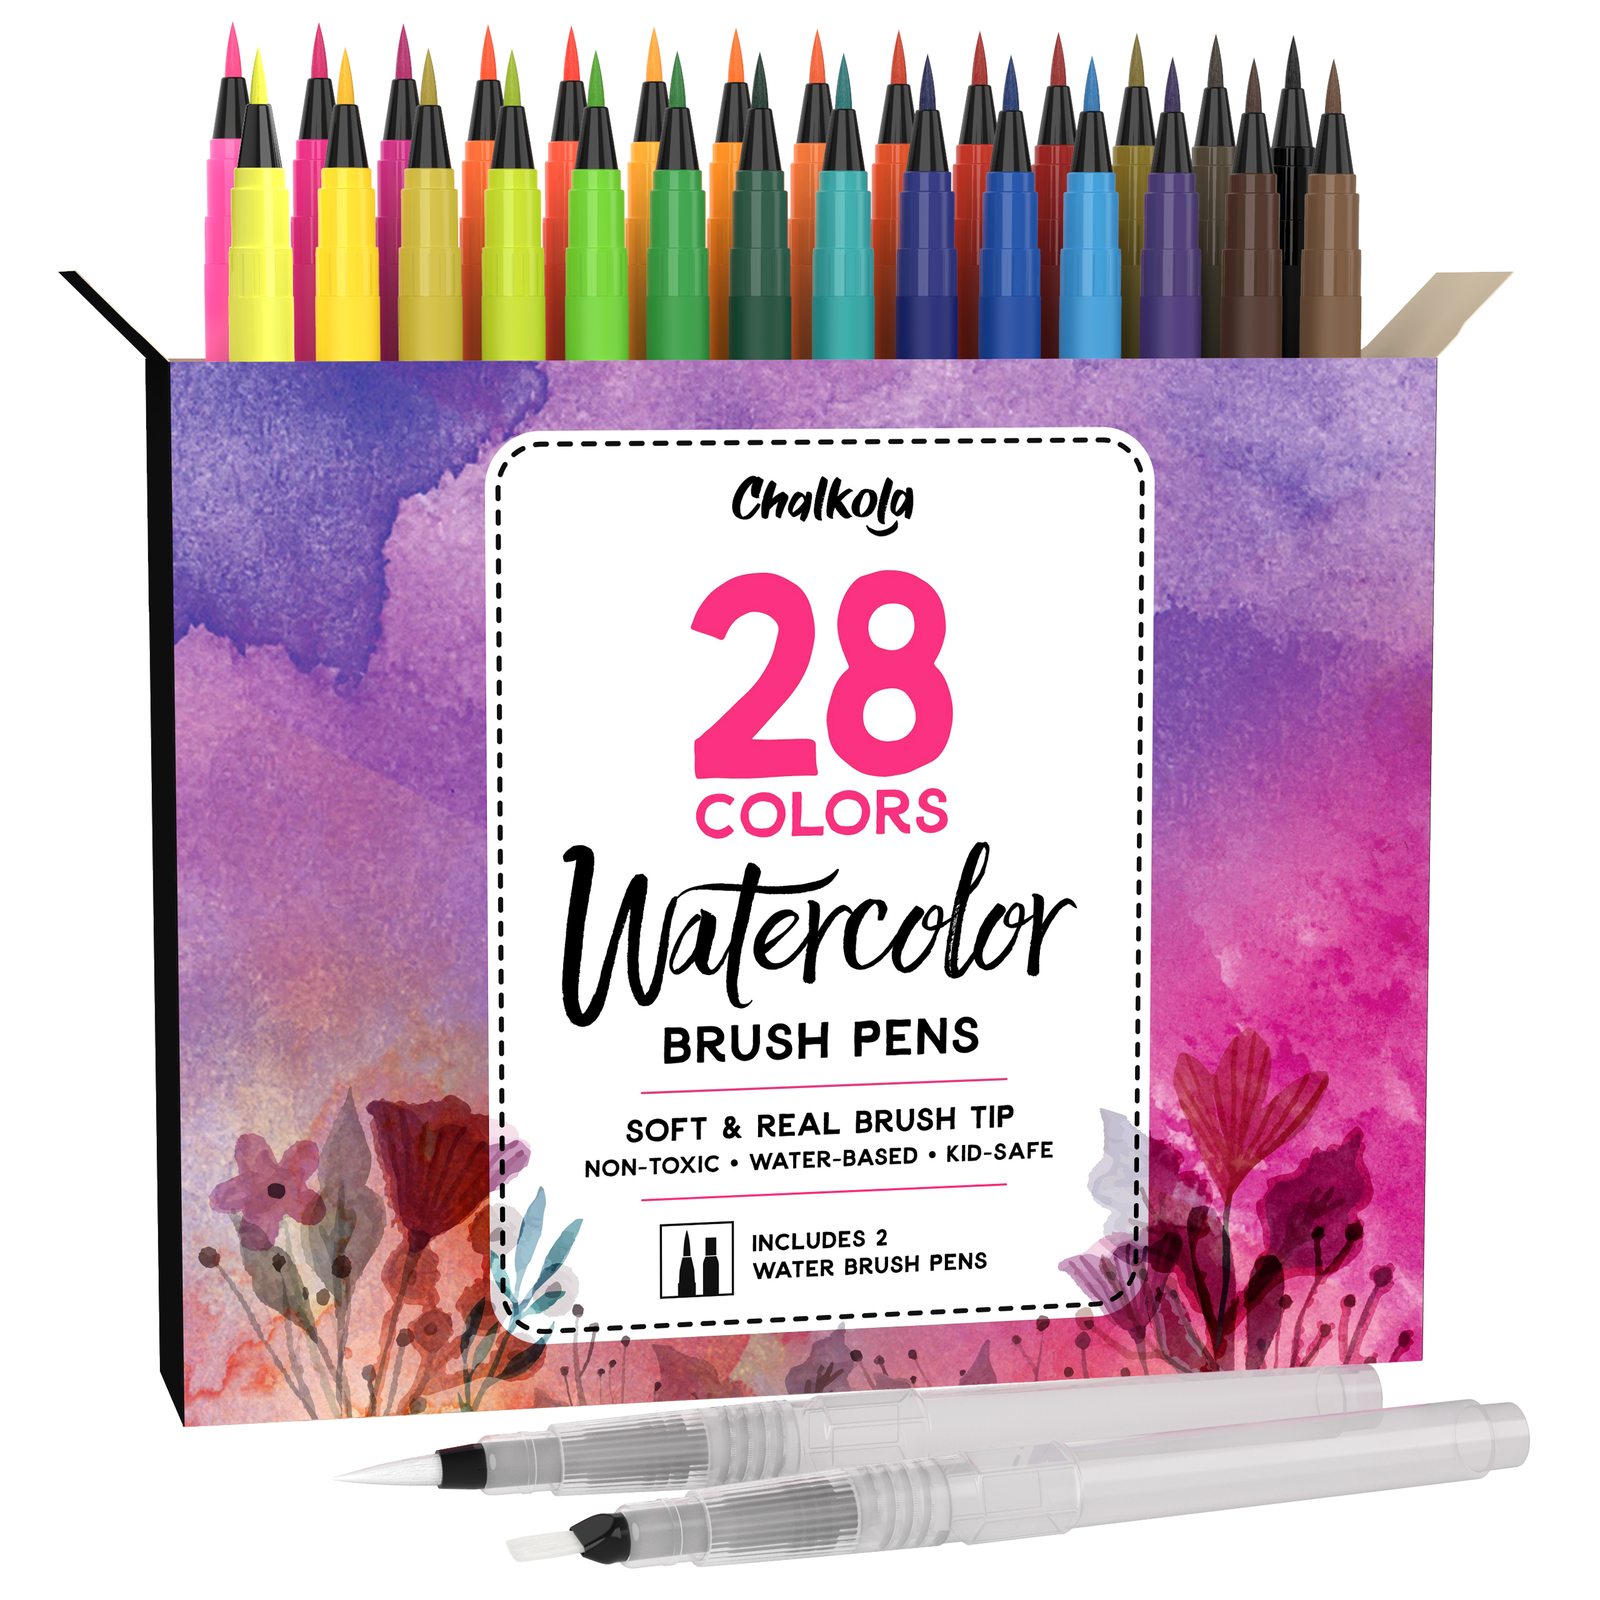
3. Watercolor Brush Pens: These are ideal for applying colors more softly or blending them! I used them to color in all the different lipstick shades and the little container thing, as well as to do some shading at the end.
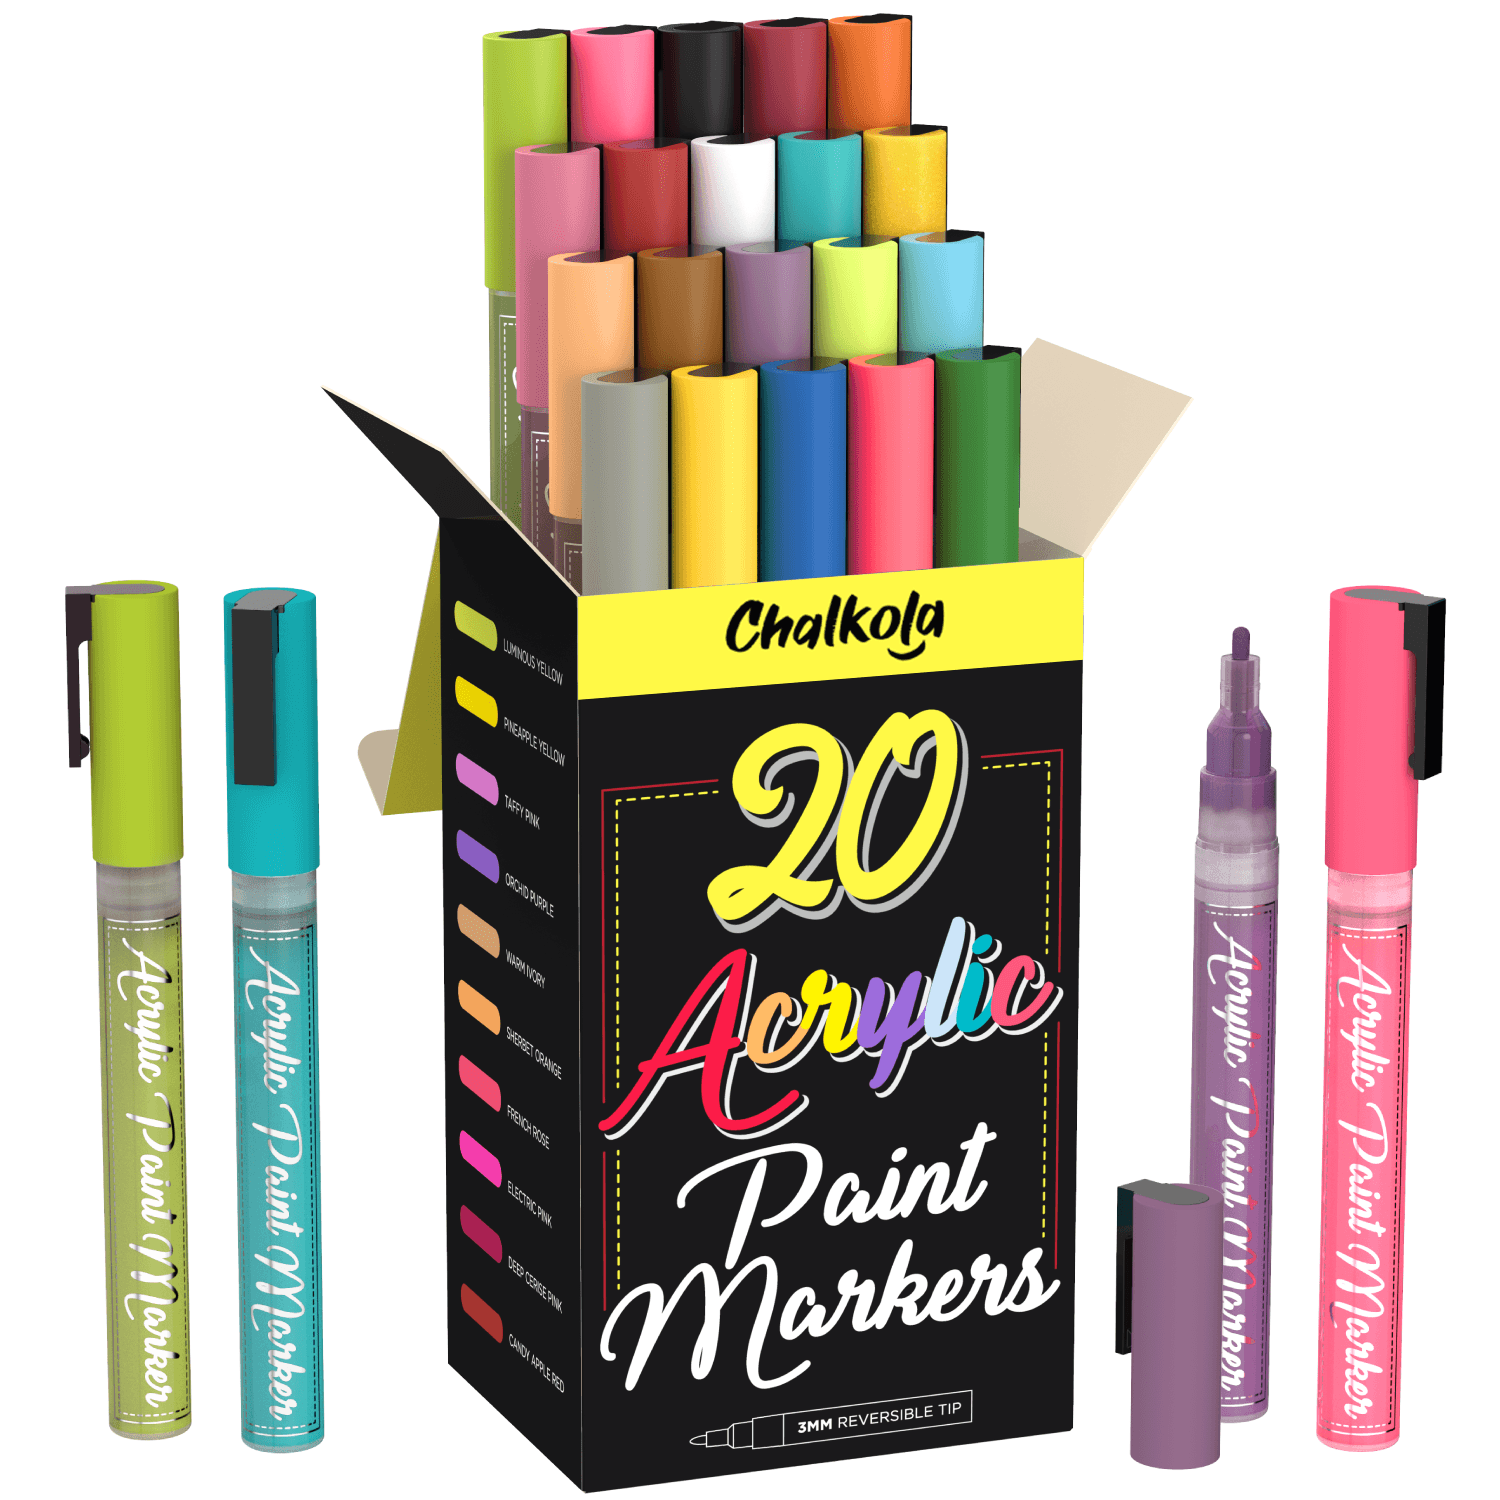
4. Acrylic Paint Markers: I love these! They’re great for covering up mistakes, bolder colors, layering, and drawing thick outlines, as I did in this spread with a black acrylic marker.
5. Lettering: Brush lettering with black pen is probably the technique I use most often in my bullet journal. I use it for everything from the songs stuck in my head to the day headers. Doing this well could be a topic for another blog post. But I learned to do it by watching videos of other people whose lettering I’ve liked, and always remember that it’s about thin upstrokes/thick downstrokes, and that you’re taking your pen off the paper far more often than it looks. I also used a regular gel pen in doing some of the lettering – both to add shadows to the brush calligraphy and to use my regular handwriting in places where I wanted smaller text.
6. Stickers and Washi Tape: You can really do these at any step in the process. I like to add them in before adding other elements so I can get a sense of which colors would look best and how everything should be spaced, but everyone has their own preferences with this!
And with that, happy planning! If you take inspiration from my spread, I’d love to see what you do! You can tag me in your creations @egg_letters on Instagram, and of course you can use affiliate code ALYSA10 at checkout if you want to save some money on supplies.
If you had fun sprucing up your bullet journal, you might want to check out this other helpful post on How to Create Your Own Bullet Journal. Enjoy!

