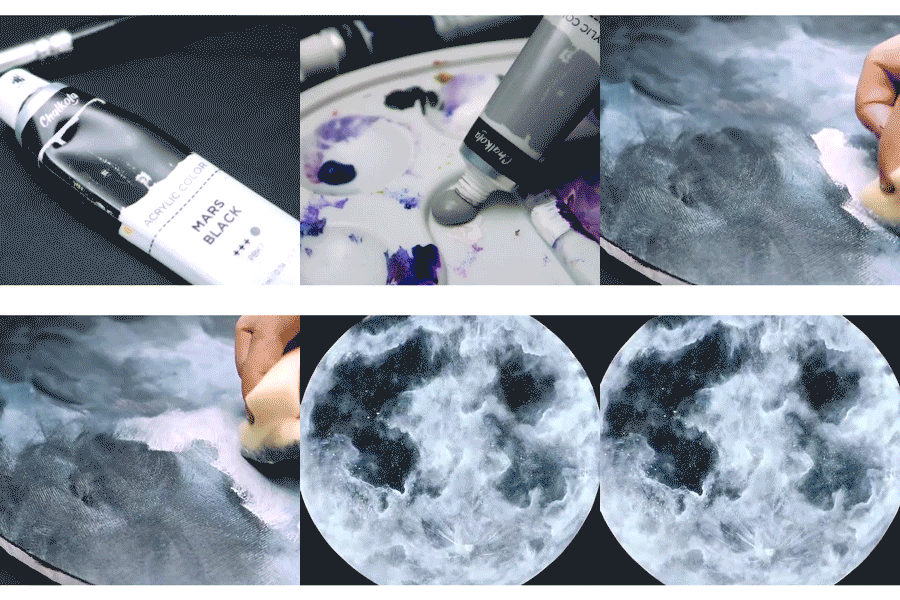
Starry skylines are popular in the art world because it has this calming effect to the mind. It's just so beautiful to see. Ever wonder how to create those? Let us teach you how.
PAINTING THE BACKGROUND:
1. Draw a grid on your watercolor paper
2. Use masking tape to mark the borders
3. Paint the first watercolor wash layer with light colors and let it dry first.
4. Paint the second watercolor wash layer with a dark color
Note: you can use dark blue for this but if you want a darker color, just use black.
5. Continue adding light and dark colors until you get your desired galaxy output
6. Let it dry fully
PAINTING THE STARS:
7.Put a small amount of white acrylic paint on your palette
Note: You can also use a white chalk ink for this! Just press the tip of the white chalk marker on the palette and let the ink come out.
8. Add a little water on the white acrylic paint and mix it together.
Note: Make sure the consistency is not too liquidy
9. Use a toothbrush to get the paint.
10. Drag your thumb across the bristles of the toothbrush above your galaxy background
11. Let it dry
FINISHING TOUCHES:
12. Paint extra details (ex. silhouettes of trees, mountains, birds, etc.) and let them dry.
13. Peel off the masking tapes carefully
14. Now, you can display your painting anywhere you want!
There you go, your DIY Starry Skylines.
You may also watch a more detailed tutorial of this DIY phone case by clicking on this link.
Get your Chalkola supplies here:
Waterbrush Pens
https://www.chalkola.com/products/chalkola-watercolor-brush-pens-set-of-26
FOLLOW US ON SOCIAL:
Instagram, Facebook, Twitter, Youtube


