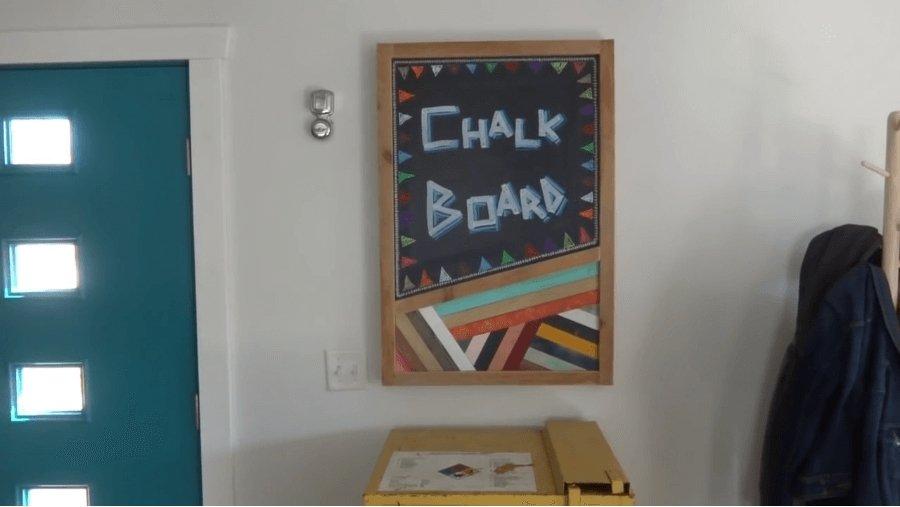
A chalkboard offers endless uses–you can create art and designs on it, leave reminders or messages, use it as a board for home menus or to-do lists, make welcome signs, and so much more. If you want the convenience of having a chalkboard up on your wall, you can easily make one. Read on and find out how simple the steps are and what you'll need to make your own great-looking, rustic chalkboard.
Materials needed:
- Wood scraps
- Chalkola Jumbo Markers
- Chalkola Chalk Markers
- Pencil (for marking the wood)
- Chalkboard or masonite
- Nails
- Hammer
- Your choice of wood cutter (if needed)
- Spray paint
- Damp cloth or paper towel
You don’t have to spend a lot to make a chalkboard. You can use wood scraps from other projects like these ¼” slats and pieces of 1x6 boards. 
Once you have built a chalkboard, you can use these Chalkola Chalk Markers on it! It’s best to make your chalkboard with a non-porous surface for easy clean-up. 
It’s especially fun to use Chalkola Jumbo Markers with their 3-in-1 nibs to give you 3 thickness options to choose from. 
With this pack of 10 chalk pens and 6 metallic markers, you can really get creative! 
The metallic pens are a bit smaller than the chalk markers and are stored in a separate sleeve. 
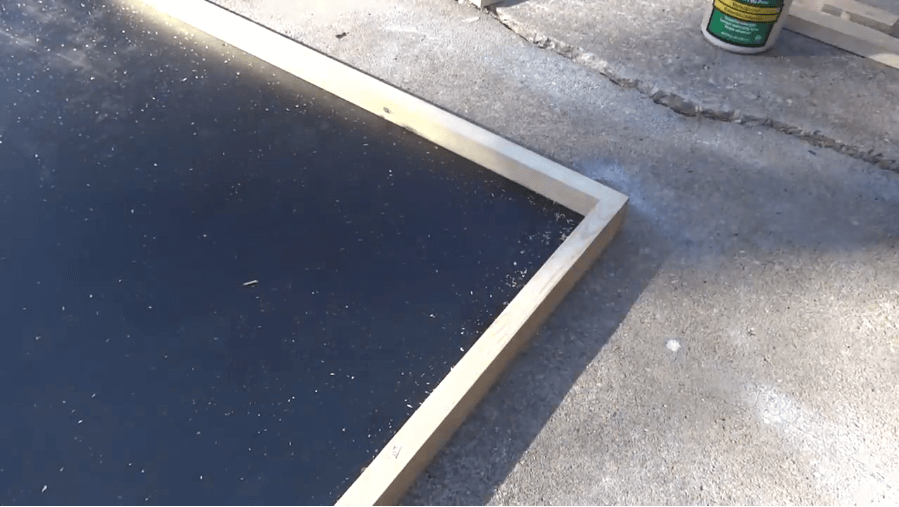
Once you have all the materials you’ve chosen for your chalkboard, it’s time to create an outline of how you want it to look. This material we plan to use for the chalkboard is a sheet of masonite that is usually used in furniture. It’s also waterproof so clean-up will be a breeze. 
Look over the wood you have and see what you can use. Depending on your design, you can use just about any scraps you may have lying around.
You’ll need a pencil to clearly mark the wood. Remember the old saying: “measure twice, cut once!"
Once you’ve measured, you can place the pieces where they should be. You’ll be able to see if your design suits you or if you need to make some changes. 
You can see how the chalkboard will look inside its frame. At this point you may want to decide whether you want a natural frame or if you’d like to stain or paint the wood. 
Some slats can come in handy to make a design on the chalkboard if you’d like to get really artsy. 
You can paint or stain the decorative slats in different colors to make them interesting and unique!
When you’re done, you’ll have some very attractive pieces to work with. 
This chalkboard uses a design that calls for the slats to be placed diagonally across the bottom of the chalkboard. 

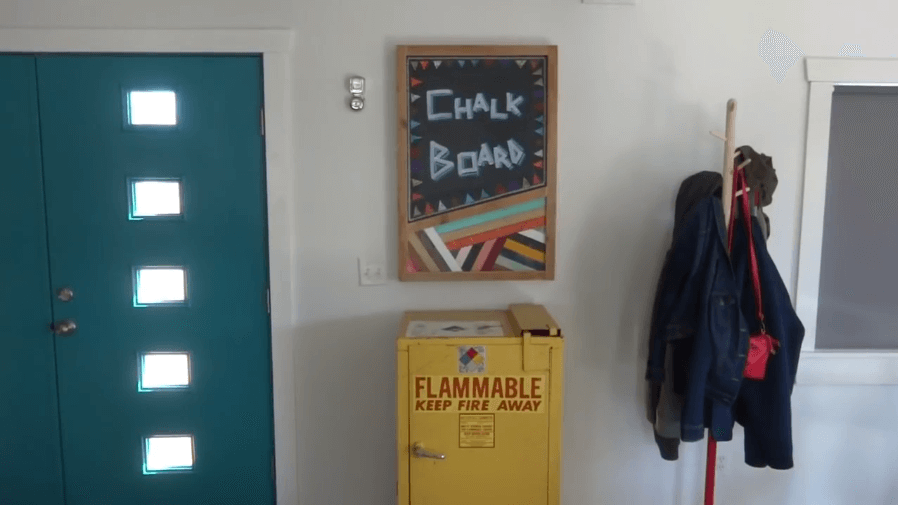
There! Your completed chalkboard is ready to use! 
A Chalkola Jumbo Marker is a fun tool to test out your new chalkboard. You can play around with the 3 line thickness options that these jumbo markers are able to make thanks to their 3-in-1 nibs. Shake vigorously before using to mix the ink thoroughly. 
Depress the tip of the marker several times until the ink begins to seep into the nib. 
It won’t take much time or effort before the nib is saturated with bright, colorful ink. 
You can see how large the Jumbo Markers are. This makes for easy handling, too!
The thick, bold line these Jumbo Markers can make is truly impressive! 
The Premium Markers are thinner than the Jumbo ones, but just as bright and colorful. 
The smaller tip and pen size allows you to include a lot of small details if you wish. These are great for more intricate designs. 
The metallic markers don’t need any preparation prior to usage; you can start using them straight from the box without having to give them a shake. 
The metallic markers have tips capable of fine, detailed lines. These are great for adding beautiful shimmer and dimension to artworks.
Cleaning up Chalkola Chalk Markers is nearly effortless. Simply wipe with a damp cloth!
Your first wipe will pick up most of the color, and another swipe will leave a clean surface. 
After just a couple of wipes, your chalkboard is as good as new!
Now, let's take a step back and admire our finished chalkboard. It looks great and unique, and adds creativity and fun to your everyday life!
All the colors of Chalkola Chalk Markers were used on this design, including the metallic pens. It’s such a thrill to work with brilliant colors! 
Leaving the nail heads visible is a nice touch that gives this beautiful board a rustic look. 


