Supplies Required:
All you need is a:- Chalkola chalk markers
- Black card stock
- Pre-printed signs
- Dotting tool
 She had pre-printed signs that she used as a kind of template for her decorations.
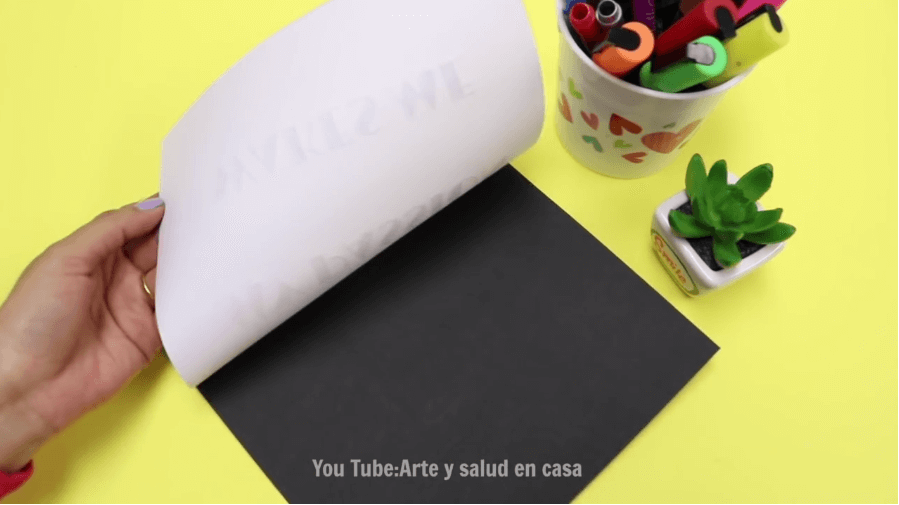
  She laid the paper over the black card stock so that she would have a guide for her lettering.
  Cony has what is called a “dotting tool”. A dotting tool is used to make impressions on paper, in clay, and other media.
  The tip of the dotting tool might look sharp but it has a blunt, rounded tip that will make an impression right through a piece of paper to the one underneath.
  Cony carefully lays the pre-lettered paper over the card stock and begins to firmly press the dotting tool around each letter.
  Although you can’t see the impression that has been left because of the limitations of her camera, Cony has made outlines of the letters onto the card stock.
  Now she has all the letters impressed onto the page so that her letters will be neat and evenly spaced.
  Cony is having fun being creative with how she fills in the letters.
  The letters can be drawn any way you like. Cony has chosen white to fill in the letters.
  She uses yellow to draw a heart because it contrasts so nicely with the background as well as the white letters.
  She makes several inspirational signs using her dotting tool and Chalkola chalk markers. She can change them as often as she wants.
  Some are funny, some are inspiring, but they all brighten up the room! There’s really no limit to what you can do with a little creativity and a set of Chalkola chalk markers!
Also read – Making A Dry Erase Board For Chalkola Chalk Marker


