Let there be light!
Grab your Chalkola Chalk Markers and a few other materials, and let's play around with some DIY black light magic. You’ll need:
- Chalkola Chalk Markers
- Flashlight
- Wide clear packing tape
- Plastic
- Scissors
- Clear vase filled with water
Let's start making our black light!
Step 1
Prepare all your materials. Make sure your vase isn't overflowing; fill it just before the water reaches the brim.


Step 2
Next is to prepare your light source. Use a strip of packing tape to cover the lens of the flashlight.
Step 3
Choose a color that you'd want to reflect as your light, and apply it to the tape covering the lens. Repeat two more times using two other colors.
  In the video, our artist used dark blue, purple, and light blue.
Step 4
Now, you'll need two colors of chalk markers for the next step.
Step 5
Time to use your sheet of plastic. Think of some inspirational words or phrases–something like dream big, be kind, or whatever it may be that lifts your spirits and promotes positivity.
Step 6
Using neon chalk markers, write those words on the plastic.

Step 7
Once you're done, cut the plastic so that each word or short phrase is on a separate strip.
Step 8
Drop the strips of plastic into the vase full of water.
Step 9
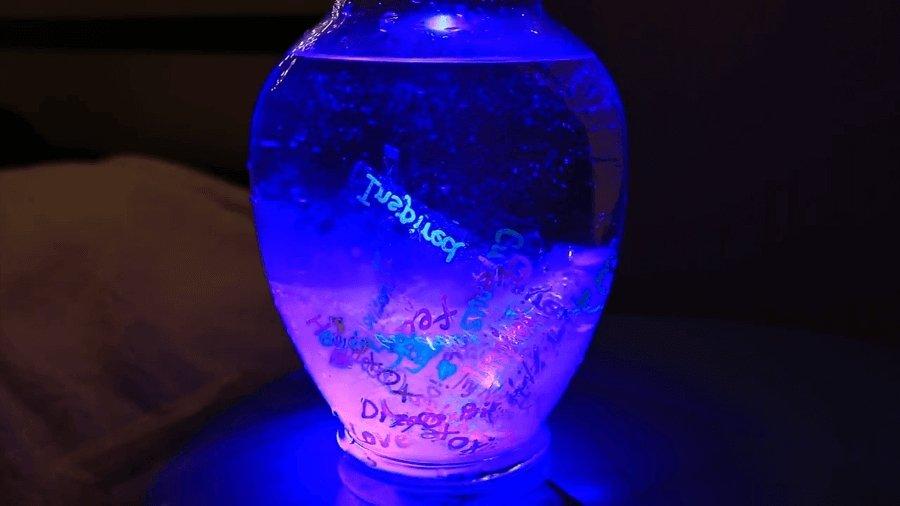
Turn off or dim the room lighting and turn on the flashlight while you swirl the water in the vase. The neon colors will be beautiful as the strips swirl in the water and the light from the colored lens will really make the colors pop.
  You’ll notice that occasionally you’ll be able to make out a word as it passes, making this a relaxing and inspirational artistic creation.
Whether you're working on an arts and crafts project, creating a lettering, or coloring an illustration, make sure you're getting the most out of your versatile chalk pens. We've prepared this helpful video below to give you tips and ideas on how to fully and properly enjoy your chalk markers. Have fun!
Also check out: Making a Cute Panda Mug with Chalk Markers


